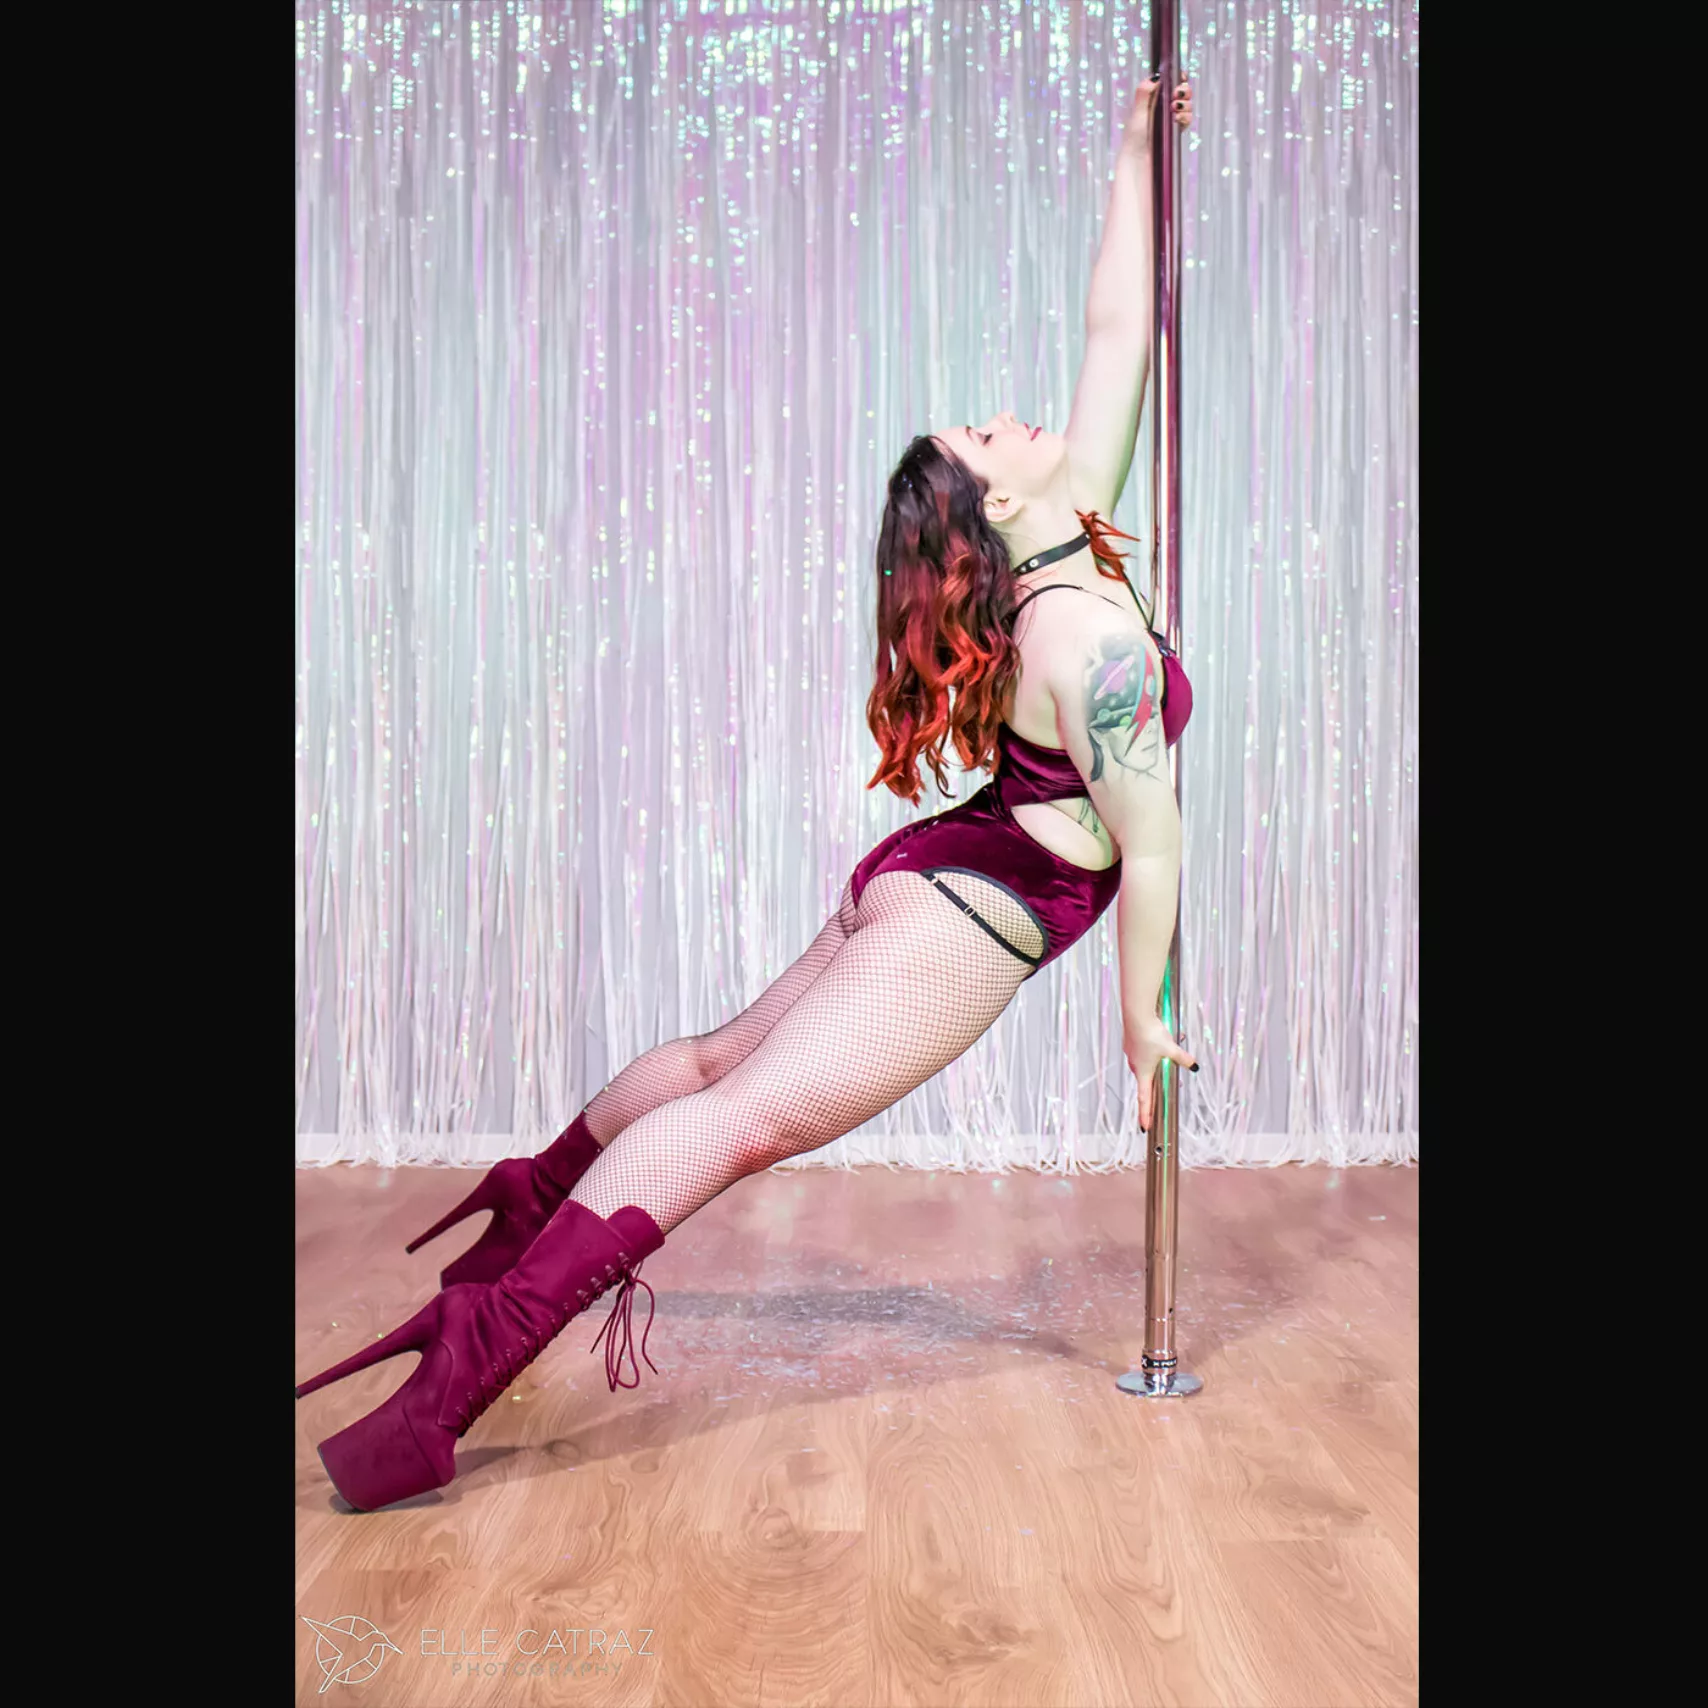
5 Top Tips to Nail Your Pole/Aerial Photoshoot by Elle Catraz Photography
Altitude HQ Foreword We were lucky enough Elle, from Elle Catraz Photography, was keen to write us her top 5 tips to nailing your pole or aerials photoshoot! She's snapped her way through Altitude studios over the last few years and has produced some AH-MAZING photos of our stunning students and instructors. You'll probably spot her work all over the place if you look close enough (we definitely use her photos a lot! ❤️❤️)!
Elle is a pole dancer & aerialist herself (and instructor at Altitude Redwood) so we're super excited she was keen to share her knowledge not only from a photography standpoint but also from someone who really understands what's involved with pole dancing and aerials.
So! If you're prepping for your very first shoot, or you want to brush up on tips for your 100th - check out her top 5 tips below!
1. Book yourself in!
Ok, I know this one seems obvious but for a lot of people, it’s the number one challenge when thinking about getting some photos taken.
All shapes, sizes and ages look fantastic in professional photoshoots – that’s why you’re paying a photographer! This is your chance to get some photos to look back on and say, “damn I looked awesome that day”. Remember, you want photos of you, not Tyra Banks. You don’t have to look or feel like a professional model – just be your wonderful self!
2. Do some research
So you’ve booked into your photoshoot... now what?
One of the best things you can do before the photoshoot day is jump online and start doing some research for ideas - Instagram and Pinterest are amazing resources. Start saving collections of poses you’d like to try and check in with your instructors to make sure they’re your level.
Take note of photos that really stand out to you and ask yourself what exactly it is about them that you like? Also take note of what you definitely don’t like so you know what not to do 😉
3. Practice before the big day!
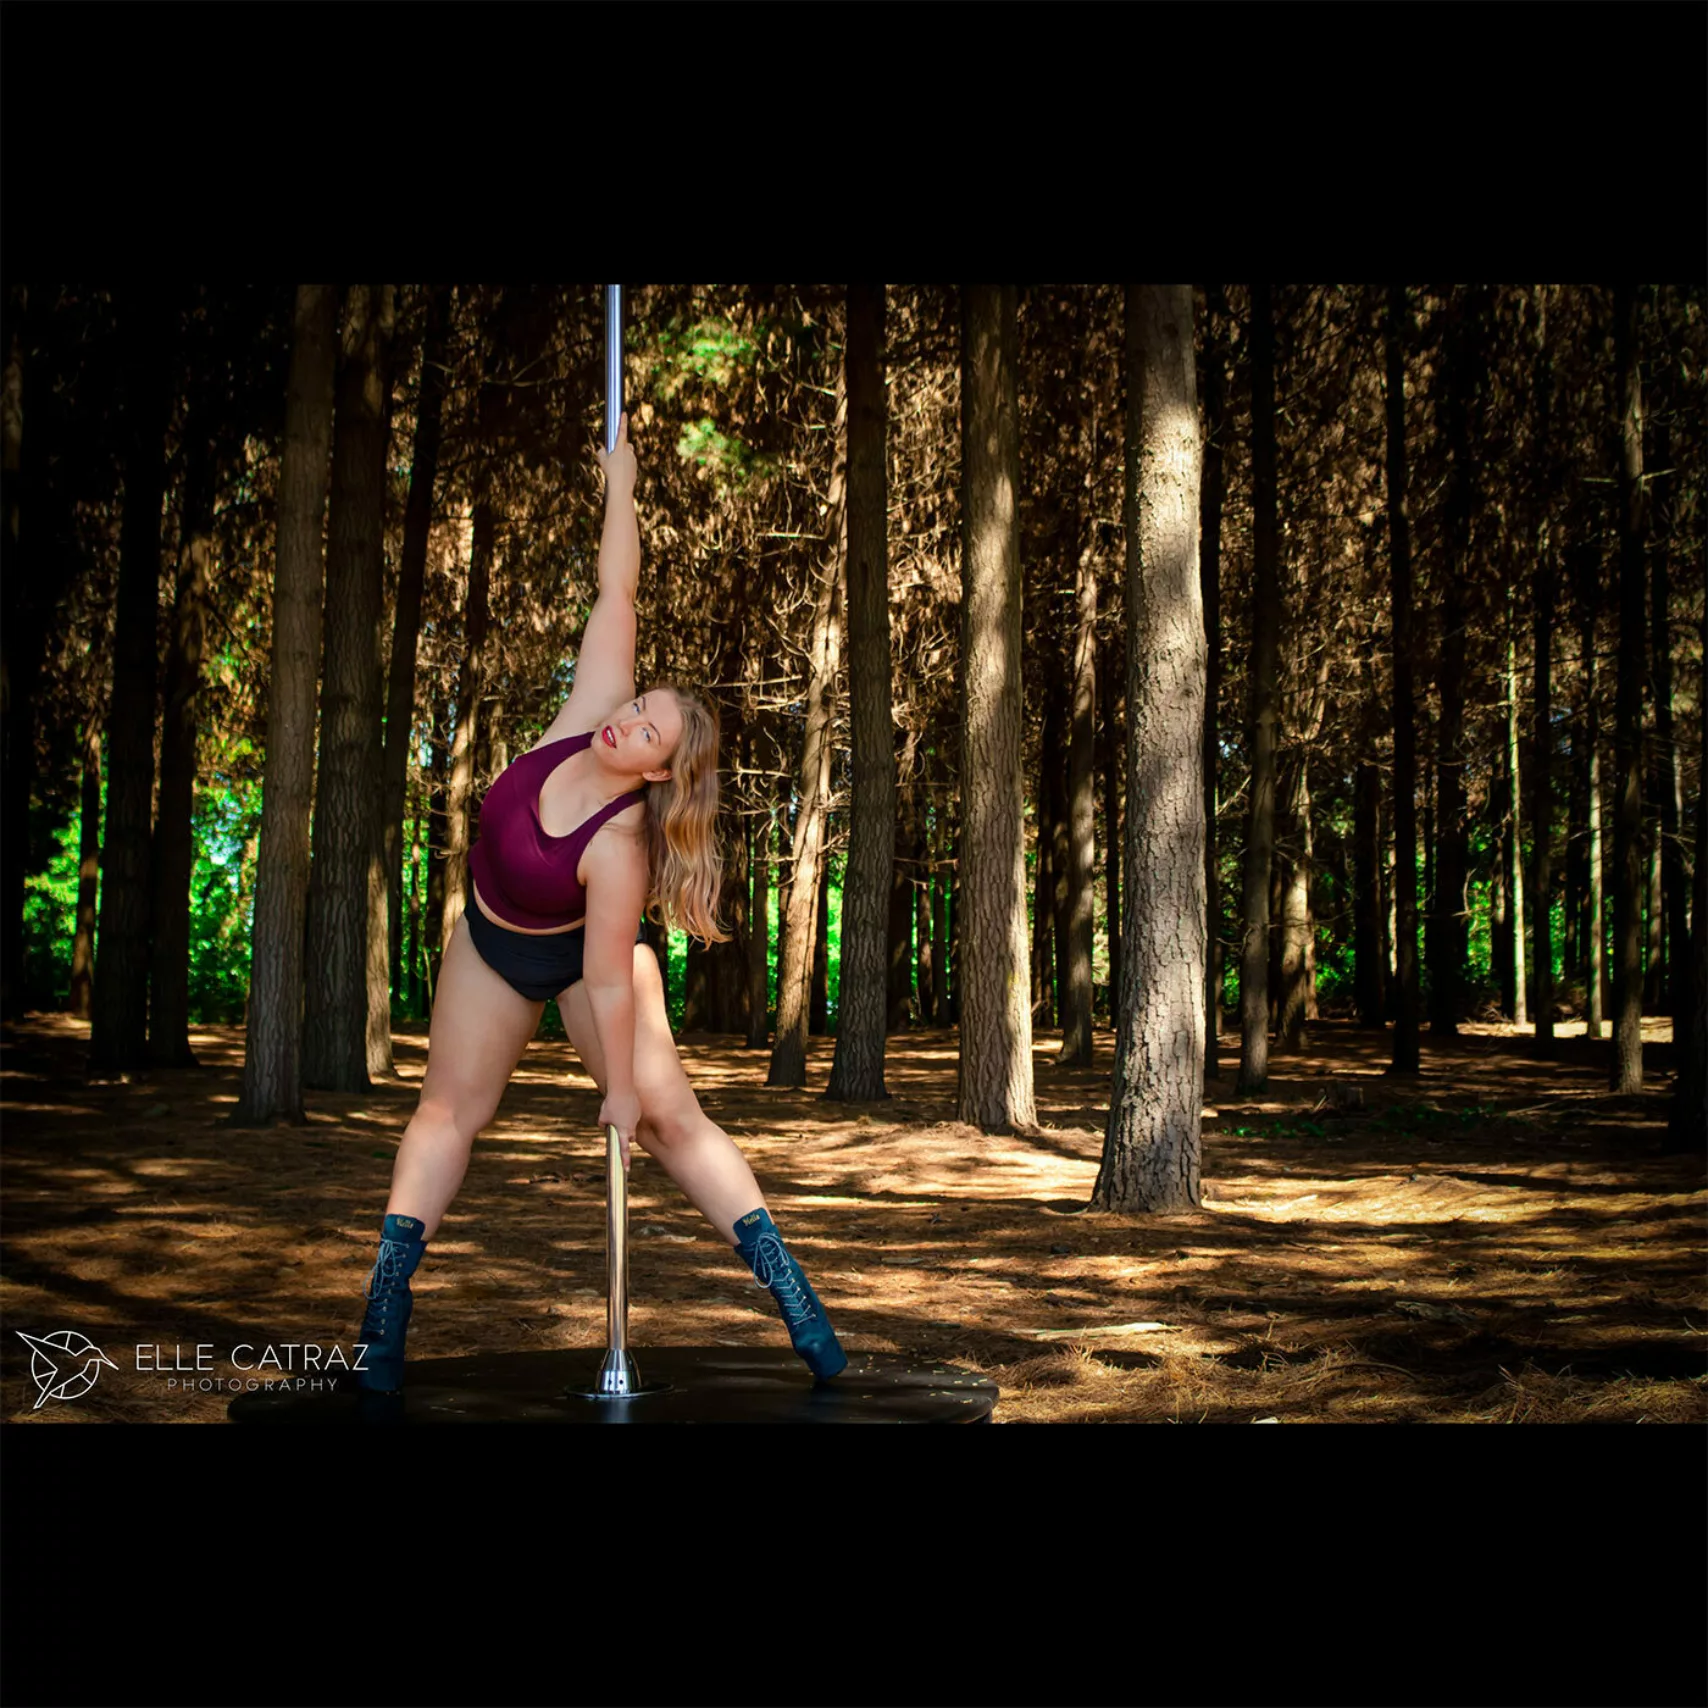
The number one thing you can do to make the most of your photoshoot time is to come in with a plan.
- Start practising your pose ideas at home or in the studio
- Use your phone to video yourself posing
- Create an album of screenshots of your favourite poses to reference on the day in case of brain-freeze.
If you’re doing your own hair and makeup I'd also suggest doing a practice run of that to make sure you’ve got it down. Look at yourself in the mirror as you practice faces. Saying “oooooh” or “eeeeee” out loud is a great hack to pulling a pretty facial expression! If you need some extra help, a photoshoot is a perfect excuse to book a private lesson with one of your instructors!
4. Come prepared!
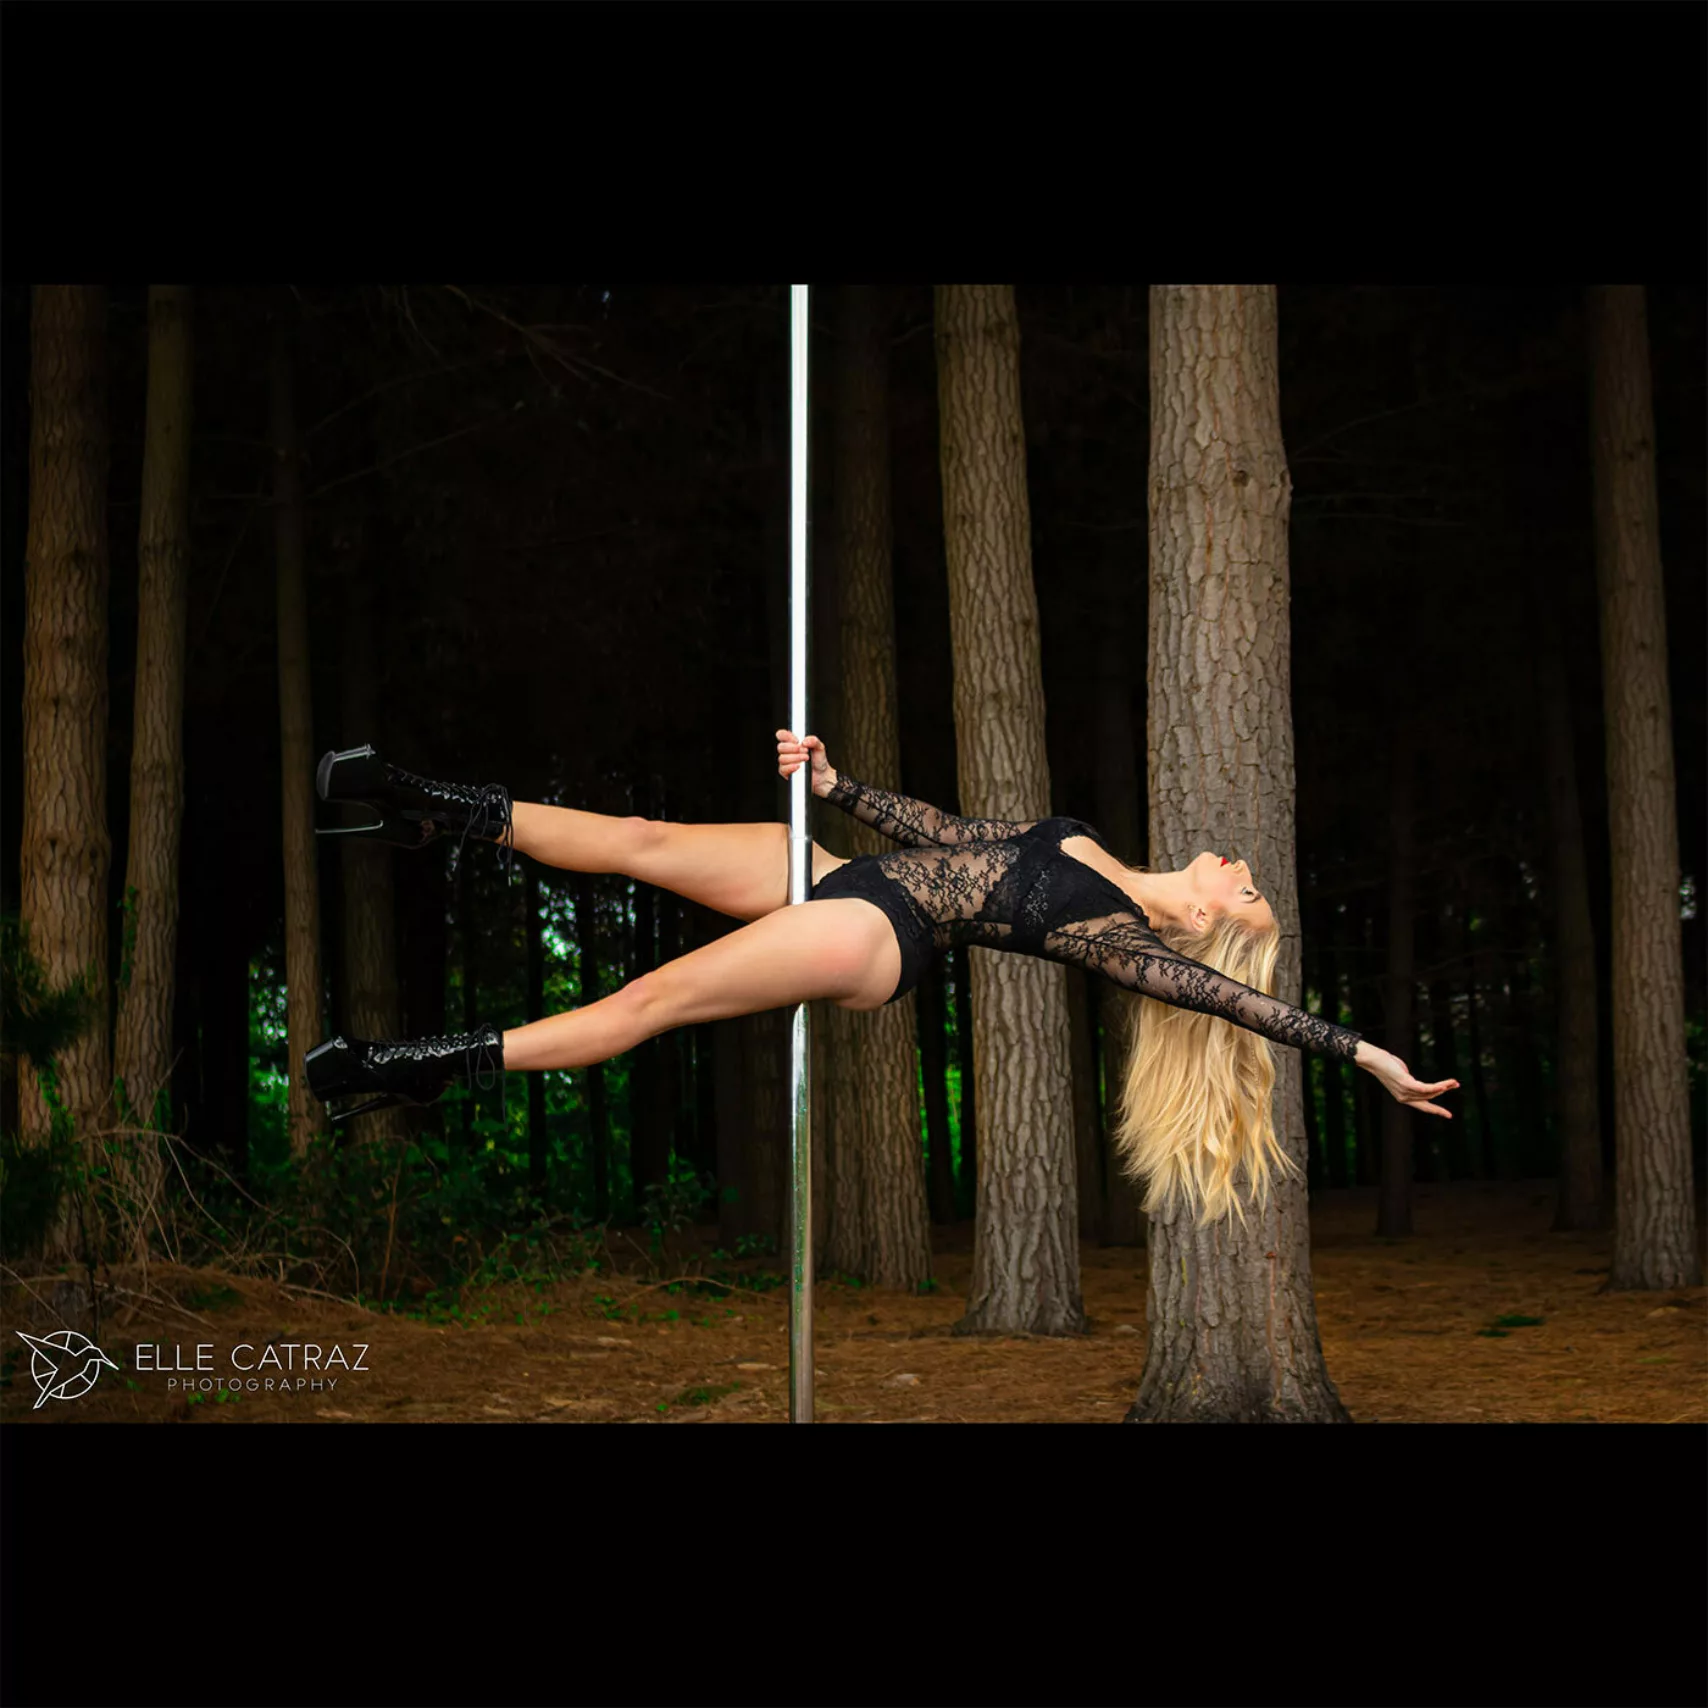
You’ve booked your photoshoot, done your research and practised your poses – awesome! But now what? Well, you need to get yourself prepped!
You’re spending good money on photos and you want to do everything you can to make sure you get the very best results. This means planning what to wear ahead of time and making sure it fits properly. If you want hair and makeup done, book someone nice and early so there’s no last-minute panic.
If you have fair skin, it’s also smart to get a light fake tan 24-48 hours before your photoshoot or use a gradual tanner for at least 7 days – this helps to prevent your skin from reflecting the lights causing over-exposed bits in your photos (yep, that’s a thing!).
Pack a bag with your favourite grip aid, a water bottle and anything else you might need for the session. Got time for a costume change? Bring extras! It’s also super important to eat properly on photoshoot day to make sure you’ve given your body the energy it needs to do what you want it to 🍌 Be kind to your body and it will be kind to you. Spending a little bit of extra time on your prep will make a huge difference to the quality of your photos and doesn’t need to cost the world 📷
5. Have fun with it!
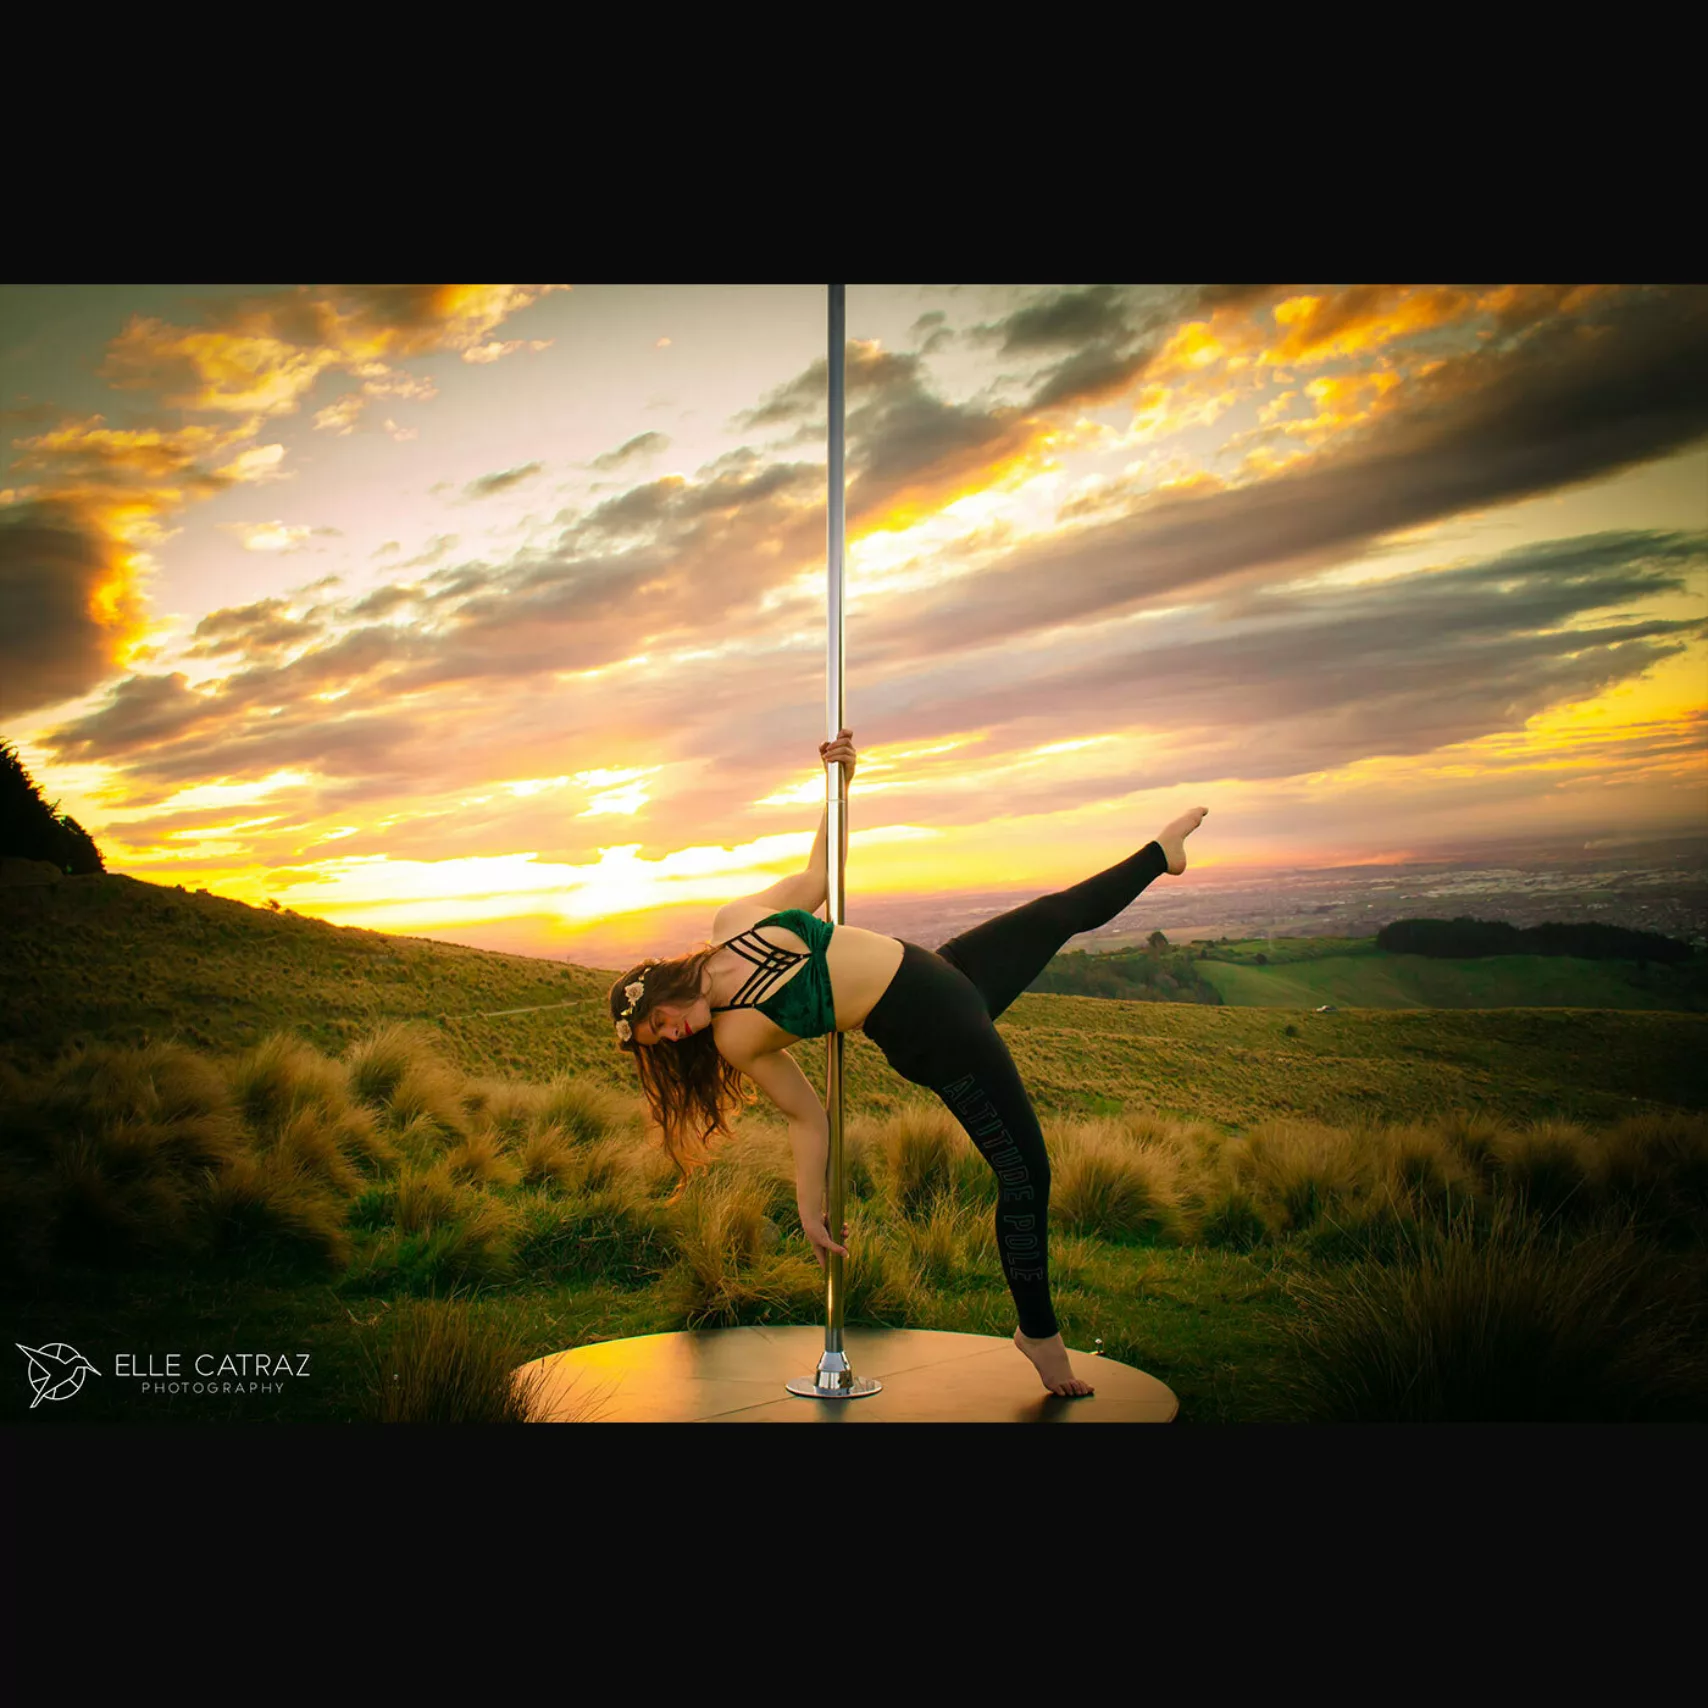
If you’ve done all the other 4 steps then you’re ready! Now you just need to have fun with it. It’s your photoshoot so you’re the boss. Have fun showing off, it’s your time to shine! 🌟
